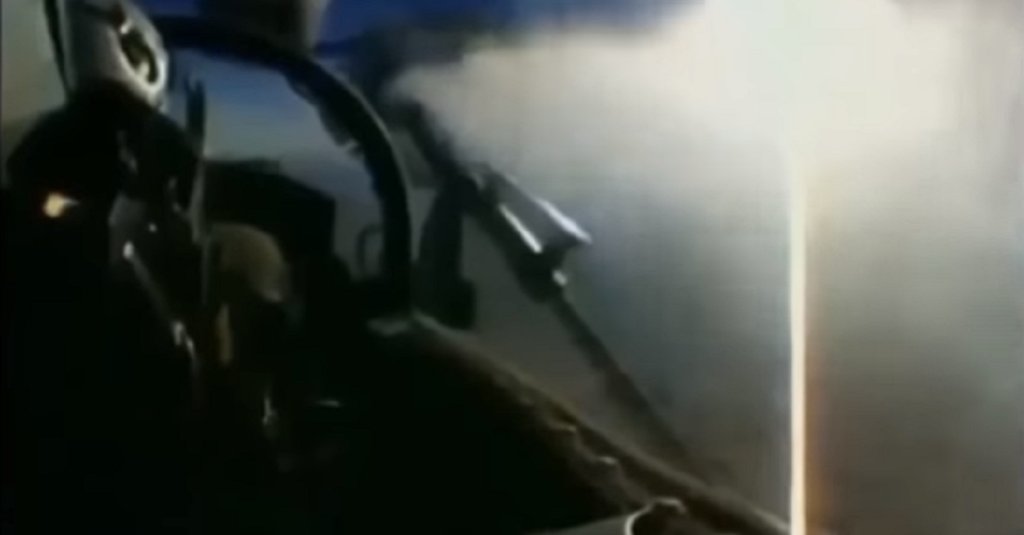

It seems almost routine in some DOD videos, but aerial refueling is a very dangerous process where a lot of things can go very wrong. It’s really not very surprising that stuff can go wrong, when you think about what that procedure entails.

What a mid-air refueling involves, for all intents and purposes, is joining two fast-moving aircraft together to pass the fuel from the tanker to the receiving plane. When it goes well, aerial refueling helps extend the reach of combat planes. It can also save an air crew when their plane has a problem.

However, the fact remains that when you are passing jet fuel from a tanker to a combat plane, it gets tricky. In 1966, a B-52 and a KC-135 tanker collided over Palomares, Spain during a flight carried out as part of Operation Chrome Dome. In 1959, another B-52/KC-135 crash took place over Kentucky.

Aerial refueling is accomplished in one of two ways: The refueling boom that is primarily used by the United States Air Force due to its ability to rapidly refuel bombers, or the probe-and-drogue method, used by most other countries around the world, as well as the United States Navy and Marine Corps. The Air Force also uses the probe-and-drogue method to refuel helicopters and the V-22 Osprey.

