The American War of Independence, as the British like to call it, was the the rebels’ war to lose.
With the superior military and economy of Britain, many expected the rebellion in the colonies to be over quickly. So, how did the world’s greatest superpower of the time fail to subdue an insurrection in the small colonies of America?
The truth is there are numerous reasons, but at least four of those happen to be costly mistakes on the part of the British.
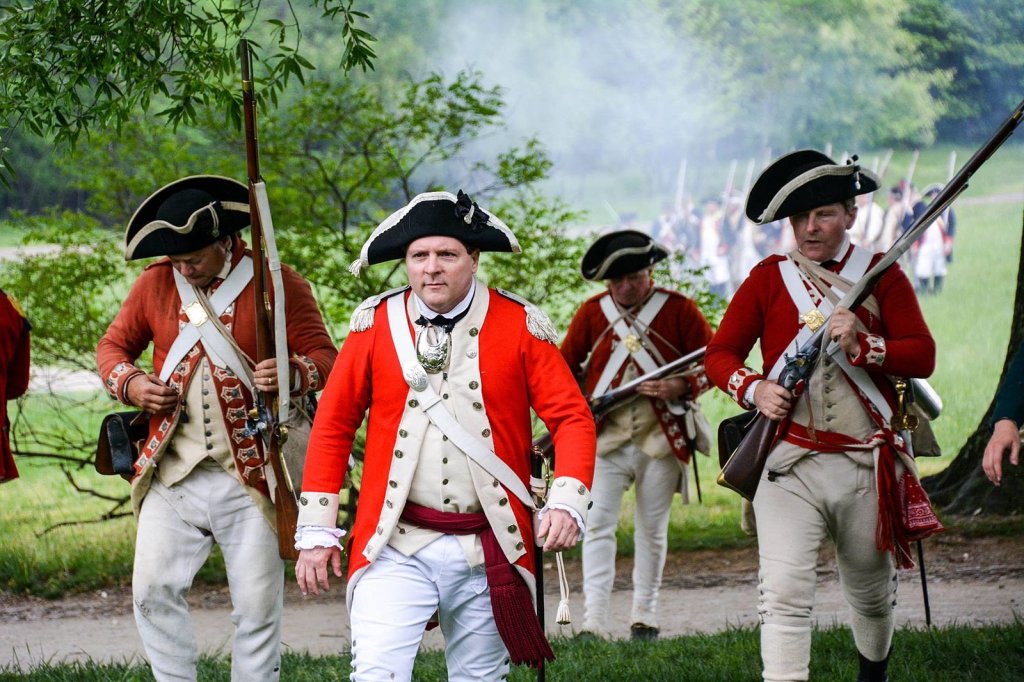
1. The Battle of Bunker Hill

The British had a knack for defeating the Americans at such a high cost that they themselves often had to retreat after the battle.
This began very early in the war with the Battle of Bunker Hill. The British charged the American redoubts on Breed’s Hill repeatedly and although they eventually drove the Americans back, they lost so many experienced officers and men that General Clinton remarked, “A few more such victories would have shortly put an end to British dominion in America.”
Due to the British military system, those loses were difficult to replace.
The British attack was a blunder for several reasons.
The preferred British tactics of the time favored bayonet skills over shooting skills. The Americans had defensive works and were crack shots. They were famously told, “Don’t fire until you see the whites of their eyes!”
As the British advanced across open ground they were mowed down by American sharpshooters. Their return volleys were ineffectual because of the American defenses. Once the British successfully stormed the redoubt on their third attempt, the Americans simply retreated, as they lacked bayonets with which to fight the redcoats.
Worst of all for the British, they could have simply cut off the neck of the peninsula and left the Americans with nowhere to run.
2. Howe’s capture of Philadelphia

Gen. Howe’s capture of Philadelphia was rife with tactical and strategic blunders that likely spelled the beginning of the end of Britain’s hopes of quelling the American Revolution.
Howe’s first major blunder was wanting to take Philadelphia in the first place. Typical Continental strategy of the day said to drive the enemy from the field and take his capital, at which point he will capitulate. However, after taking several American cities and defeating the Americans in multiple battles, this outcome had failed to materialize.
Yet, Howe, the commander-in-chief of British forces in America, failed to realize this and strove to capture Philadelphia.
This action might not have gone down as such an incredible blunder if it hadn’t been for another issue — it left Gen. Burgoyne’s troops without support in the Hudson River Valley.
As most American high school students know, American forces under Gen. Horatio Gates were able to surround and capture the British force at the Battle of Saratoga. This victory brought the much needed support of France and ended British hopes of conquering New England.
Howe would successfully capture Philadelphia but the Continental Congress escaped into the Pennsylvania countryside. In order to secure New York, Howe would have to abandon Philadelphia the next year.
3. The Battle of Cowpens

The Battle of Cowpens was a major turning point towards the end of the war, and another costly blunder for the British.
British forces, led by the young, brash, Col. Banastre Tarleton, were seeking to advance into North Carolina after successfully subduing much of Georgia and South Carolina.
Tarleton’s arrogance and overconfidence were playing right into a trap that the American commander, Daniel Morgan, had set for him. Morgan planned to use his militia as bait, to lure Tarleton into a false sense of victory and then hit him hard with his Continental Regulars.
Tarleton helped Morgan’s cause by driving his force relentlessly in pursuit of the Americans. His men had nearly run out of food and had been roused at two in the morning to continue their pursuit of Morgan. They arrived at the battlefield weak and exhausted.
Once engaged, Morgan’s ruse worked like a charm. The British force suffered over 100 men killed, 200 men wounded, and 500 men and two cannons captured. Combined with a defeat at King’s Mountain prior to the battle, the British position in the South was becoming more precarious.
4. The Battle of Guilford Courthouse

Exasperated by the losses at King’s Mountain and Cowpens, Lord Cornwallis sallied forth against Gen. Nathaniel Greene’s numerically superior force.
Determined to pin down Greene and decisively defeat his army in the south, Cornwallis sought battle at Guilford Courthouse where Greene’s army was camped. Despite being outnumbered two-to-one, Cornwallis’ troops engaged.
The battle was the largest of the southern theatre and despite his numerical advantage, Greene was unable to defeat Cornwallis’ veteran troops. After over two hours of intense combat, Greene withdrew his army from the field.
Though Cornwallis had defeated Greene, his victory was pyrrhic, and failed to decisively destroy the Patriot army. Cornwallis had lost nearly a quarter of his force killed or wounded in the battle. Losses that were increasingly difficult to absorb for the British army.
Cornwallis’ fateful decision forced him to withdraw to Yorktown to await reinforcements. At Yorktown, Cornwallis’ tactical blunders would cost the British the war. First, he failed to breakout when he had the chance, then he gave up his outer defenses, hastening his defeat.
With no reinforcements and under siege, Cornwallis surrendered his force to Gen. Washington, effectively ending hostilities in the American Revolution.