Imagine your perfect defense. You’d likely choose a fortified position, maybe a literal fortress. A coastal one, so you know which approaches the enemy will use. You have rows of barbed wire and an anti-tank ditch fully ringing you. Add artillery and machine-gun positions that any enemy must cross. And, just for giggles, give yourself over twice as many defenders as you’ll face attackers. Then imagine that you surrender the fortress in just days, anyway. Welcome to the Battle of Bardia in World War II, when 16,000 Australians captured 36,000 Italian soldiers and killed thousands more in January 1941. The surrender was so quick and so lopsided that British politician Anthony Eden quipped, “Never had so much been surrendered by so many to so few.”
But, in the Italian soldiers’ defense, the whole situation at Bardia was much more nuanced than the summary suggests.
The run up to battle
First, many of the defenders at Bardia had arrived with their tails between their legs. Mentally, they were already struggling with multiple defeats that had ravaged their units. The larger campaign was Operation Compass. British forces and their allies launched a small series of raids overnight December 7-8, 1940. They wanted to push back Italian positions in Egypt and soften future targets, as well. But even before they stepped off, British leaders were preparing to “exploit success” if the raids went well.
And they went very well. Italian troops in North Africa, Britain would slowly learn, had major supply issues. First, with limited ports and the British Mediterranean fleet attacking supply ships, Italian troops often had to make do with very little. Worse, their supply situation was stupidly complicated. While they had plenty of machine guns and artillery, they had more than 10 separate calibers of ammo in use at just Bardia. Much of the ammo and fuzes were expired, and the weapons were finicky at best and in need of maintenance.

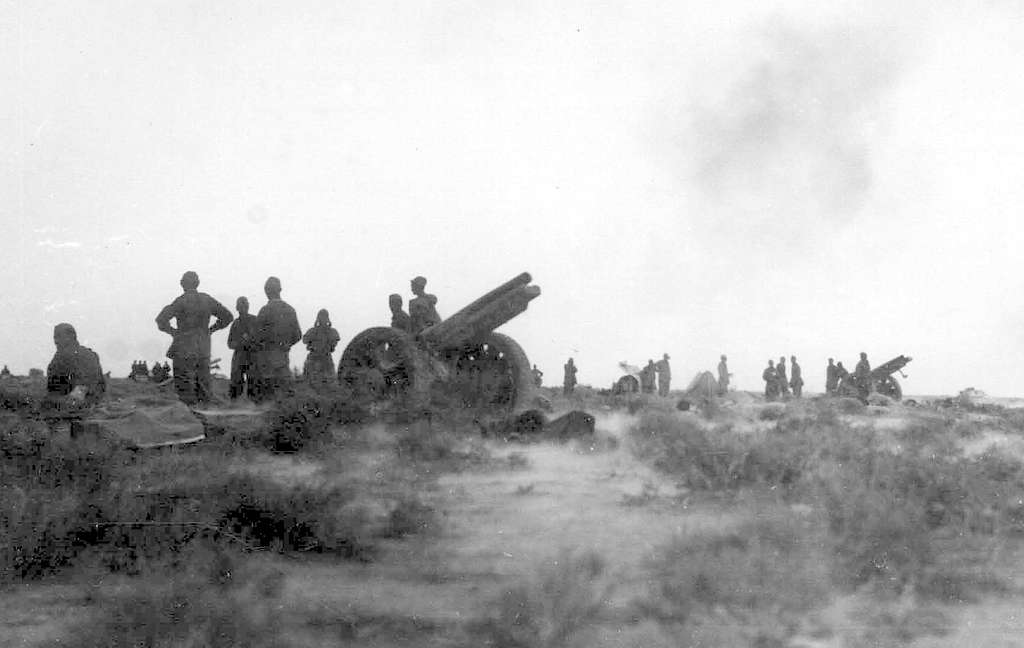
The forces at the Battle of Bardia
But the worst problems for Italian troops came from the vast shortcomings in armor, naval and air support. Italian armor was overwhelmingly tankettes and medium tanks. None were equal to the British Matilda II. British ships, while limited in number, had their run of the coast and would frequently support British troops and attack Italian ones during Compass. Finally, British scout and bomber planes flew largely unopposed, though Italian aircraft remained in the area during Bardia.
The larger maneuver situation was so bad that Bardia’s defenders couldn’t communicate with Italian forces to the west at Tobruk. They had no idea how the rest of the campaign was going or how long they had to hold out. But they did know that Mussolini expected them to fight to the last man, so they knew relief was unlikely.
So, those few days of raids in early December became a two-month assault and advance. Halfway through, on January 3, Australia launched its first Australian-planned, Australian-led assault of the war. The eager men aimed right at the fortress at Bardia.
The first assault
The Battle of Bardia could have gone terribly for the Australians. First, they relied on British naval, aircraft, and armor support. British intelligence dismissed reports of a strong Italian armor presence, so much so that British tankers at one point ignored reports of an ongoing tank attack on Australian troops and continued their tea break. And the desert conditions in Libya caused extensive maintenance issues that would haunt Australians on the attack.
But, luckily for them, the British intelligence errors and maintenance issues were nowhere near as bad as what the Italians were suffering. From the start on January 3, the overall battle went Australia’s way.
First, British ships provided naval gunfire that pinned down some of the fortress defenders and slowed operations in the lines of defensive posts, which lacked overhead cover. Engineers quickly cut through the barbed wire with cutters and Bangalore torpedoes. Then they created seven crossings of the anti-tank ditch by collapsing its walls, allowing 23 Matilda II tanks to cross for the attack, as well. Australian infantry, supported by British artillery and armor, entered the main fortress on the first day, though Italian forces remained in the compound.

Mopping up
Another Australian infantry brigade crossed the wire on the second day and the combined forces cleared more of the compound and captured the township within. By this point, Austalians pushed Italian defenders out of most of the remaining defensive posts. Italian troops survived in two bubbles, one in the northern section of the fortress and one in the south. Neither could get supplies or reinforcements, and neither could maneuver to help the other.
On the third day, Australian infantry forced the surrender of these remaining troops. Total Italian troops captured over the three days were 36,000. An estimated over 1,700 were killed and almost 4,000 wounded. Australia and its allies, meanwhile, suffered 130 killed and 326 wounded. All-in-all, 16,000 Australian and British troops defeated, in just days, an estimated 45,000 Italian troops in a desert fortress expected to hold for weeks.
In just three days, the Allied forces toppled an Italian force 2.5 times their size and accepted the surrender of over twice their number of Italian troops. And they had accepted the surrender at a fortress with extensive wire obstacles, and anti-tank ditch, and dozens of concrete fighting positions.